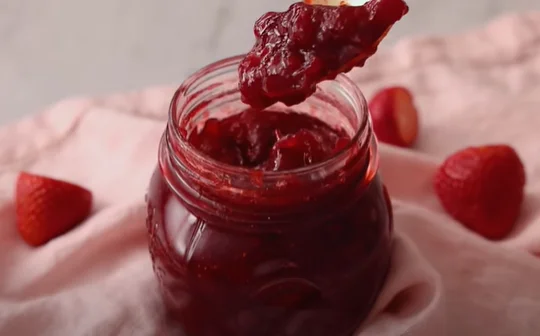
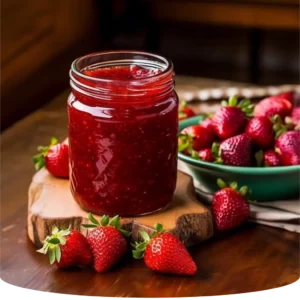
Homemade Strawberry Jam with SURE JELL
Picture a sun-kissed morning, dew-kissed strawberries, and the promise of homemade goodness. That’s the strawberry jam experience! As a passionate foodie and jam enthusiast, I’ve perfected my strawberry jam recipe over the years. Let’s dive into the sweet symphony of flavors
Absolutely! Crafting your own strawberry jam using SURE JELL is a delightful experience that brings the taste of sun-ripened strawberries to your table year-round. Whether you’re a seasoned food preserver or a beginner, this recipe is a fantastic starting point. Let’s dive in.
Jamming for Beginners: A Sweet Adventure
1. Starting Small:
- Food preservation can feel overwhelming, but remember, even the most seasoned chefs once started with simple recipes. Begin with jams and jellies—they’re like the gentle warm-up before a culinary marathon.
2. From Novice to Confident:
- With each successful batch, your confidence will soar. Trust me, that first jar of homemade jam will make you feel like a kitchen wizard.
3. The Backyard Garden Connection:
- Before my journey into food preservation, I was clueless. But then we started our little backyard garden. Witnessing seeds transform into harvests ignited my passion. Suddenly, preserving that bounty became essential.
4. SURE JELL: The Maestro of Jam Consistency:
- What Does SURE JELL Do?
- It’s a pectin—a natural thickener found in fruits. When making jams and jellies, SURE JELL ensures a proper set without prolonged cooking.
- Think of it as the conductor orchestrating the perfect jam symphony.
5. The Sweet Dilemma: Sugar and Jam:
- Do You Really Need All That Sugar?
- Yes! Sugar isn’t just for sweetness; it’s the magic that sets your jam. Without it, your creation might be a bit too runny.


Homemade Strawberry Jam with SURE JELL
Ingredients
- 5 cups of fresh strawberries crushed: This translates to approximately 4 pints of ripe, juicy strawberries.
- 1 box of SURE JELL original yellow box: The magic ingredient that ensures your jam sets perfectly.
- 1 teaspoon of butter: A small touch to prevent excessive foaming during cooking.
- 7 cups of sugar: Sweetness to balance the tartness of the berries.
Instructions
- Preheat Your Oven:
- Set your oven to 200°F (93°C). We’ll use this to sterilize our jelly jars.
- Sterilize the Jars:
- Place your jelly jars open-end up in the oven. Let them sit there while you prepare the jam.
- Prepare the Lids:
- Keep about 8 lids submerged in water in a small saucepan over low heat. This ensures they’re ready for sealing.
- Combine the Ingredients:
- In a large pot, mix the 5 cups of crushed strawberries, the SURE JELL, and 1 teaspoon of butter.
- Bring this delightful concoction to a rolling boil, stirring continuously.
- Add the Sugar:
- Now, add the 7 cups of sugar to the pot.
- Bring it back to a rolling boil and let it bubble away for 1 minute, stirring diligently.
- Jar It Up:
- Fill your sterilized jars with the strawberry jam. Wipe off any excess from the rims.
- Secure the lids and rings tightly.
- Enjoy!
- Your homemade strawberry jam is ready! Spread it on warm toast, dollop it on scones, or gift a jar to a friend.
Video
Notes
FAQs
Q: What is SURE JELL, and why do I need it for making jam?
A: SURE JELL is a brand of fruit pectin—a natural thickener found in fruits. When making jams and jellies, it ensures that your jam sets properly without lengthy cooking. Think of it as the secret ingredient behind perfectly textured jam.
Q: Can I reduce the amount of sugar in my jam?
A: While sugar is essential for jam setting, SURE JELL offers a low or no-sugar fruit pectin alternative. You can still enjoy delicious jam with less sweetness.
Q: How do I sterilize my jars?
A: Sterilizing jars is crucial to prevent spoilage. You can use the oven method (place jars open-end up in a preheated oven) or run them through a dishwasher with a high-temperature setting.
Q: How do I know if my jam has set properly?
A: Perform the “wrinkle test.” Place a small spoonful of hot jam on a chilled plate. If it wrinkles when you run your finger through it, it’s ready.
Q: Can I add other flavors to my strawberry jam?
A: Absolutely! Get creative—add lemon zest, a touch of vanilla, or even a hint of cinnamon. Experiment and find your signature flavor.
Q: How long does homemade strawberry jam last?
A: Properly sealed and stored jars can last up to a year. Label your jars with the date to keep track.
Leave a Reply